Starting a blog website with Gatsby and Prismic. Part: Two


Hello readers, this is the second part of our three-part series of Starting a blog with gatsby and prismic. What we have done in the first part was to set up a headless CMS (Prismic in our case) from which we will pull our blogs and about page data in our gatsby website.
Setting up Gatsby Starter
Assuming you have some previous experience with Gatsby and you have Gatsby-CLI and npm installed. Create a new folder with a name you want and open that folder in a code editor. I am using VS Code for my workflow. I am going to name my folder Gatsby-Prismic-Blog you can name whatever you want. Open your terminal in the same folder or if you are using VS code too hit Ctrl + ~. This will open a terminal for you.
Now in terminal type
gatsby new my-blog-website
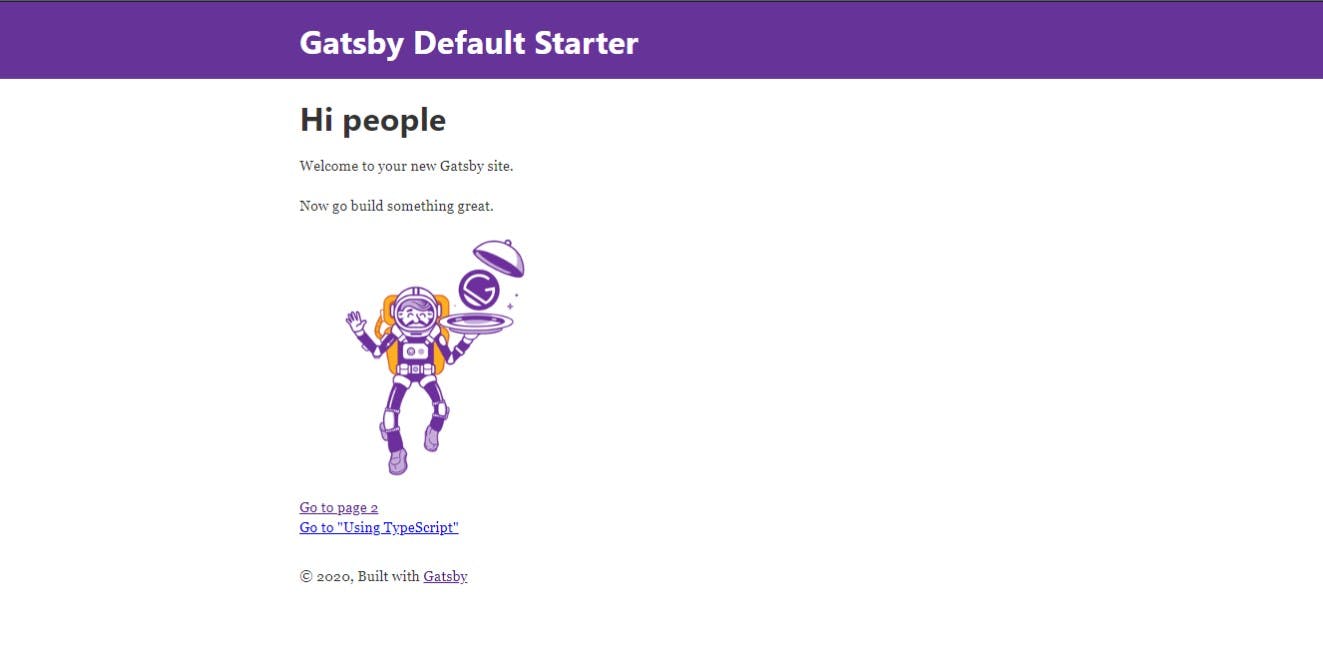
This will create a new gatsby website with default starter Gatsby provide. That's it you now have a website ready to use. If you want to look at how your website looks to enter the following commands in your terminal.
cd my-blog-website/
gatsby develop
Once the above command is executed open a browser and enter http://localhost:8000/ and there it is your awesome website.
Now that we have our website running, we have to pull our blog and about page data from Prismic.
Getting your API access token from Prismic
Before we start pulling our data from prismic we need two things from our Prismic repo i.e
an API access token and your repo name. These two are required to pull data from your prismic account.
- First, we will see where you can get your repository name
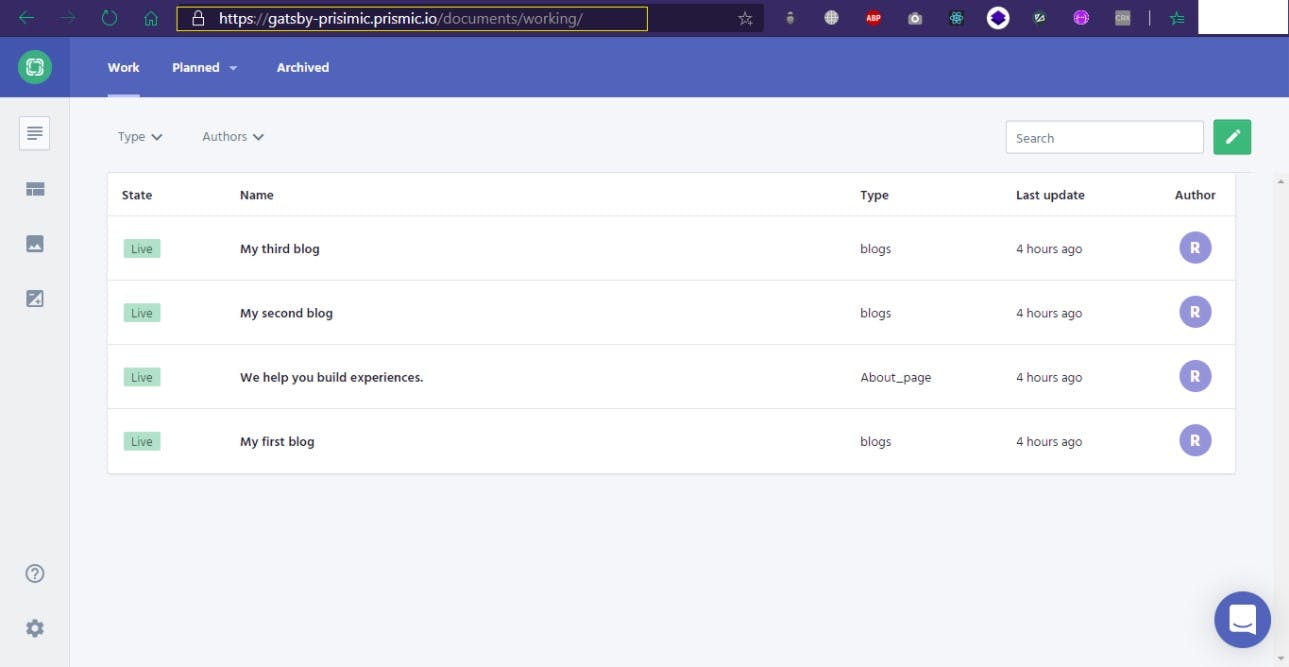
It's simply whatever you set the name of your repo is your repository name if you forgot what you saved you can look in your dashboard URL. My dashboard URL is https://gatsby-prisimic.prismic.io/ so my repository name will be gatsby-prismic
2. Second we need an API access token.
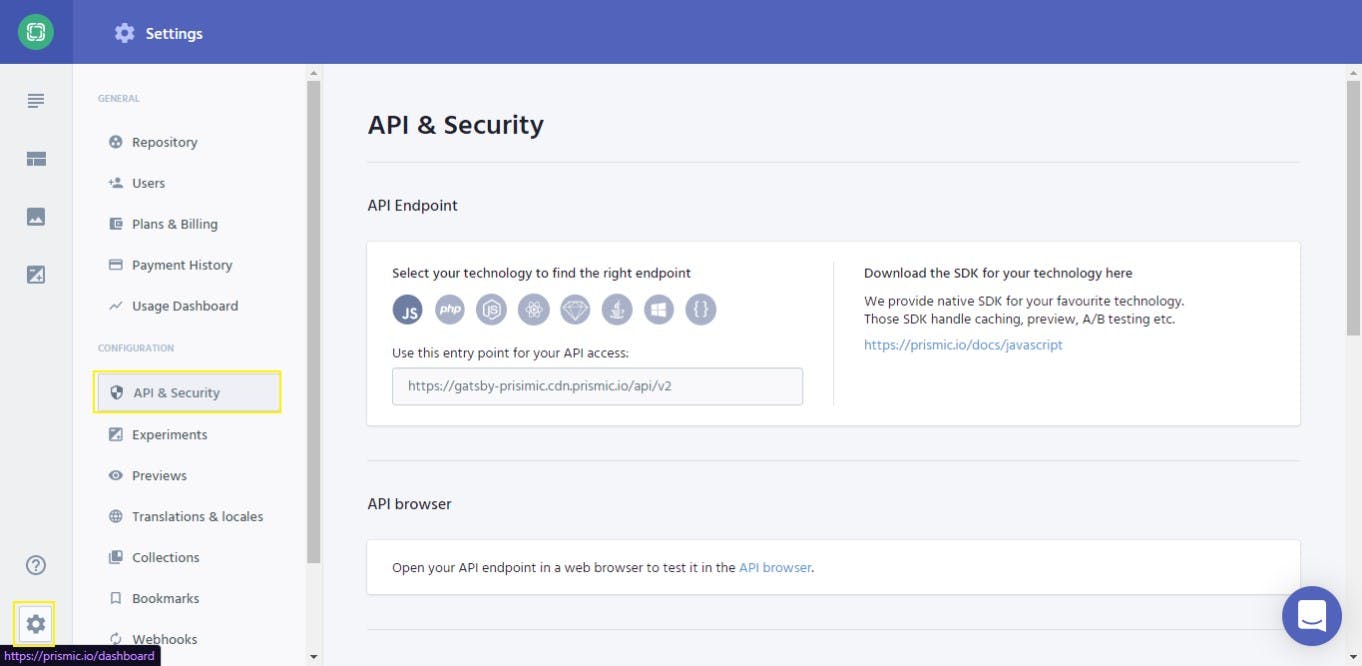
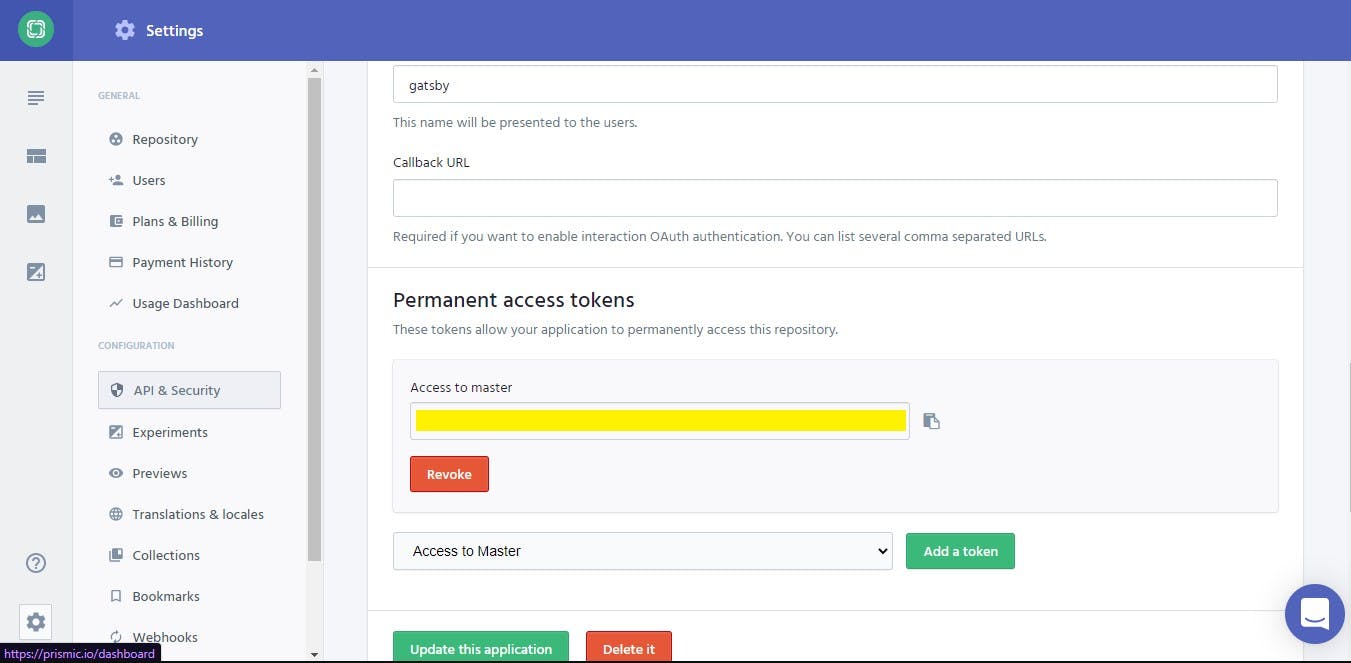
To get your access token, click the gear icon/setting in bottom left from there click on API & Security.
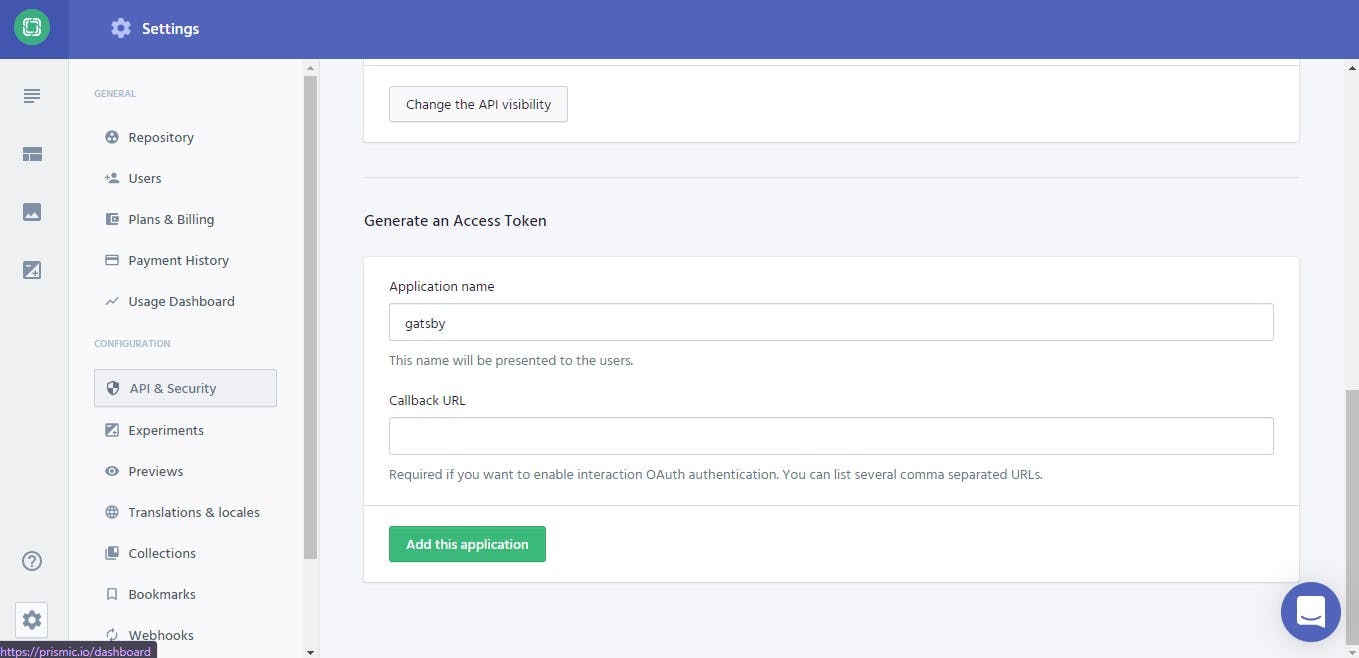
Now scroll all the way down to Generate an Access Token section. Give it an application name and hit add this application. I named my application gatsby you can name anything you want.
This will generate an API access token for you. You will get a new screen just scroll down until you see Permanent access tokens. Below that you have your access to master key copy it, you will need later.
Configuring Gatsby to pull data from Prismic
To source our data from Prismic, we need a gatsby plugin. Close the running terminal with Ctrl+C if your terminal is still running. Now enter
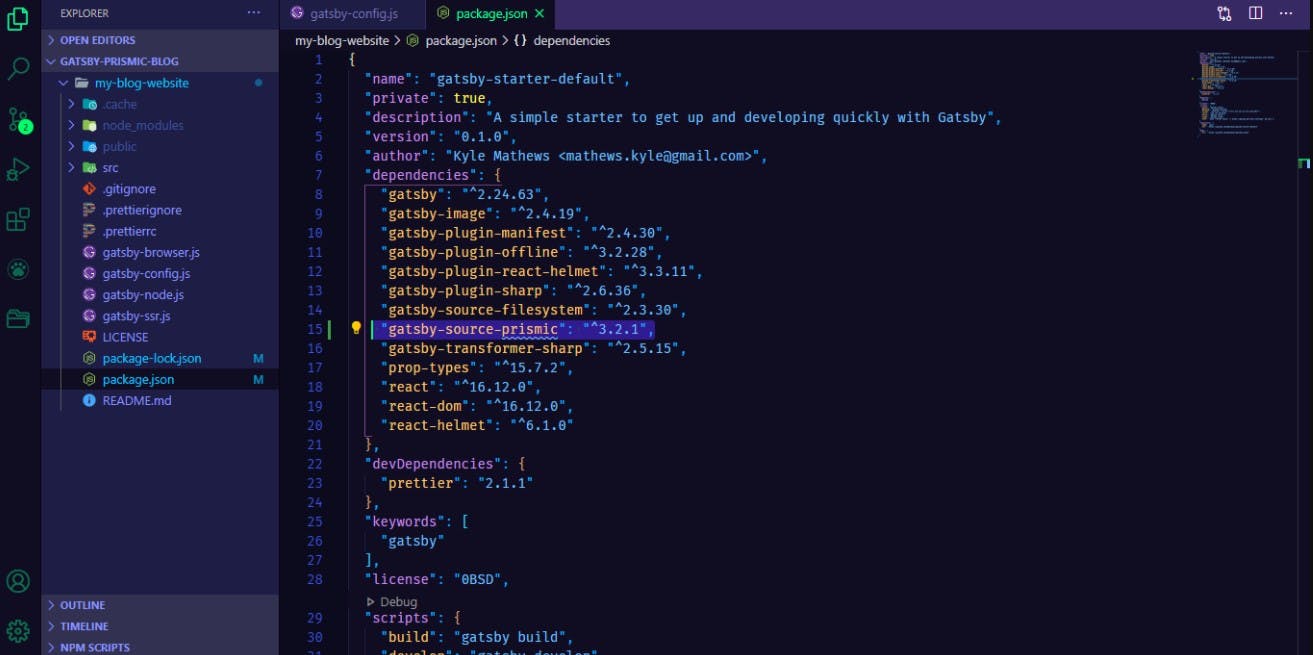
npm install --save gatsby-source-prismic
This will install gatsby-source-prismic in your application and you can check that in package.json file.
Now before we go to configure this plugin in gatsby-config.js we need some additional files and folders.
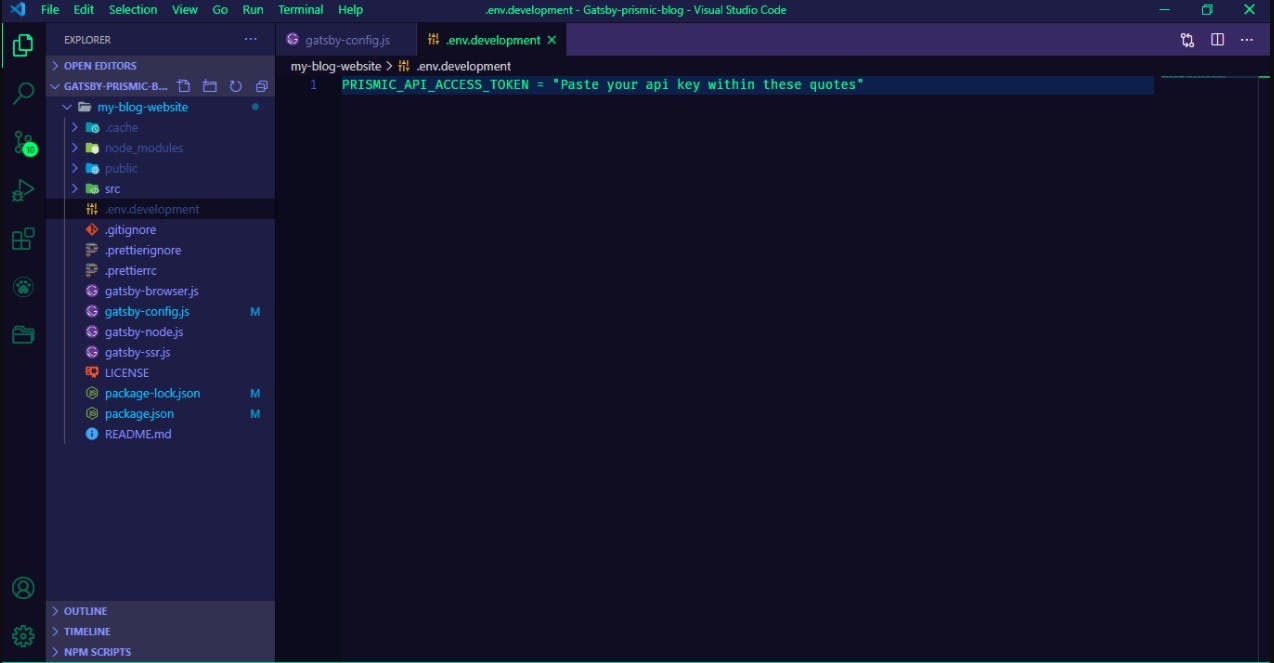
In the root directory of your project in my case, its my-blog-website, create a file and name it .env.development. In that file add your access token to a variable name. You might ask why are we doing this? Well, we are storing our access token in a .env file which will not expose our API key to the world. You can read more about env files and creating env files in gatsby here.
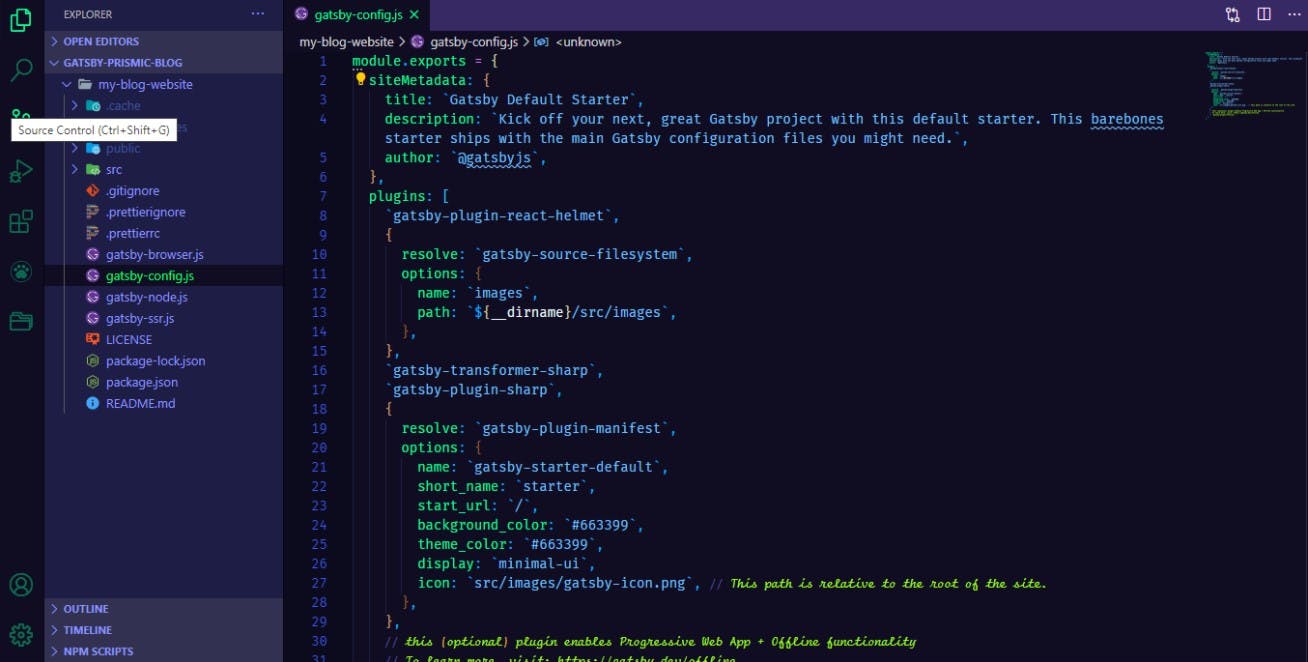
Now in the src folder create a folder and name it schemas. In that schemas folder, we will create two JSON files one for our blog and one for our about page. Name of these files should be the same as your content types. In my case, I am going to create blogs.json and about_page.json. After making these files your file structure should look something like this
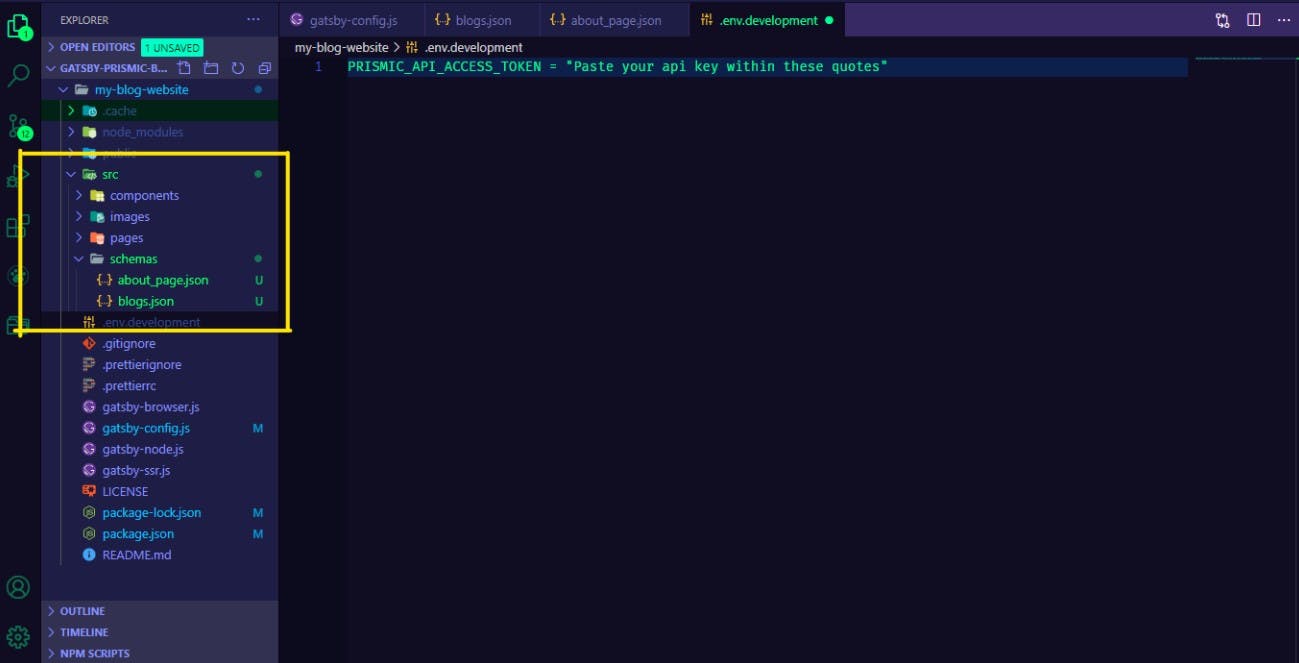
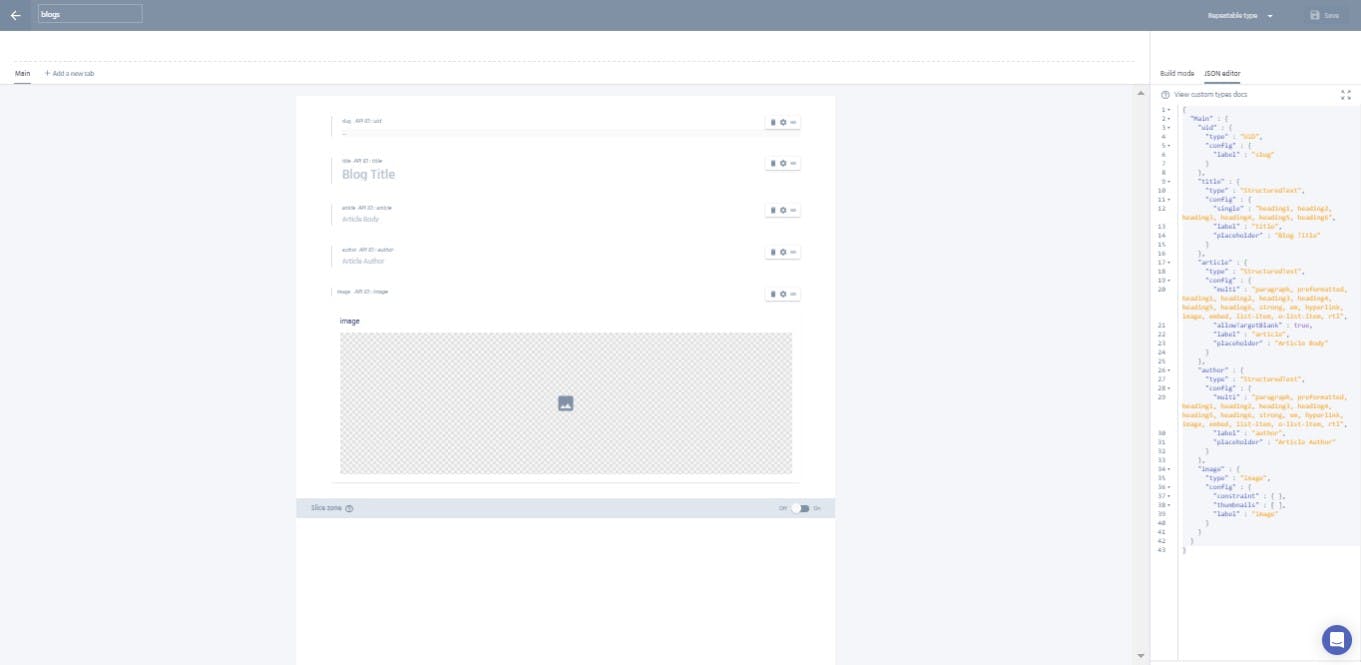
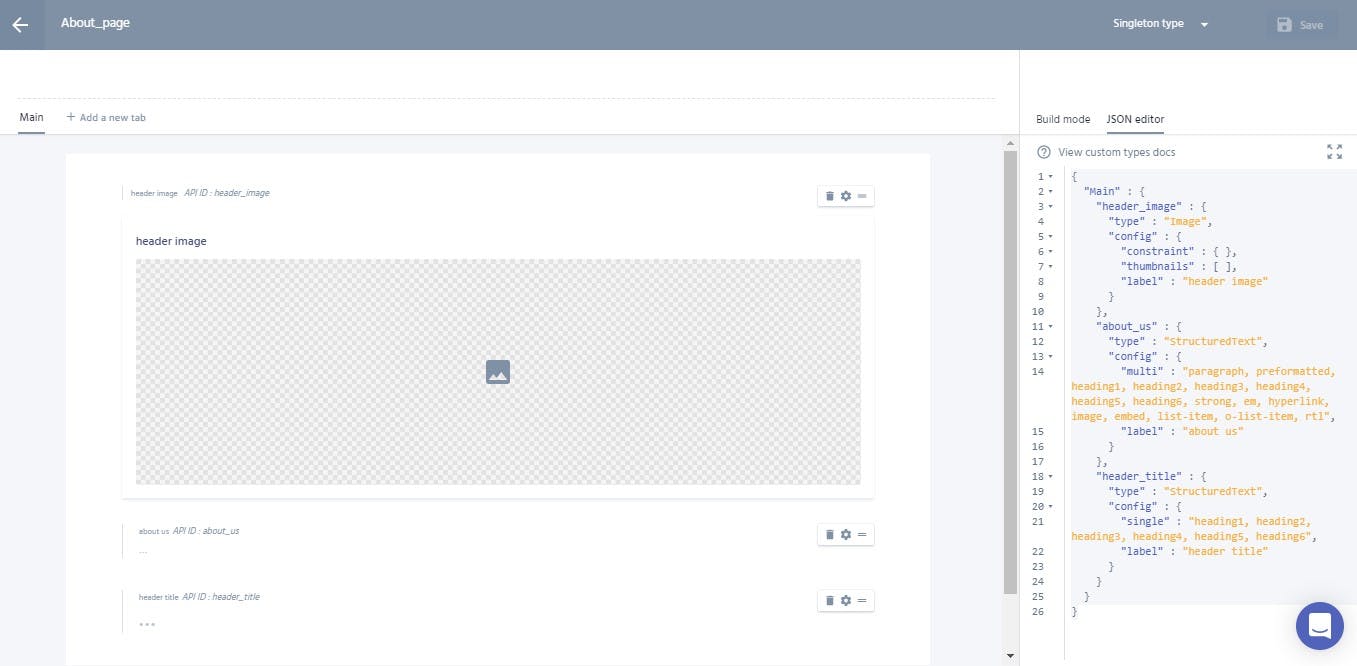
Now head back to prismic to get your schemas. Go to your prismic dashboard and then into custom types and click on blogs. You will find JSON editor tab next to build mode. Copy everything from that and paste it into the blogs.json file you just created. Do the same with about_page. Custom Types > About Page > JSON Editor > Copy Everything > Paste into about_page.json.
That's it now we have all the pieces we need. We have to configure gatsby-source-prismic plugin in the gatsby-config.js file for gatsby to know where are we fetching data from and what we are looking for.
Open the gatsby-config.js file and you will see something like this
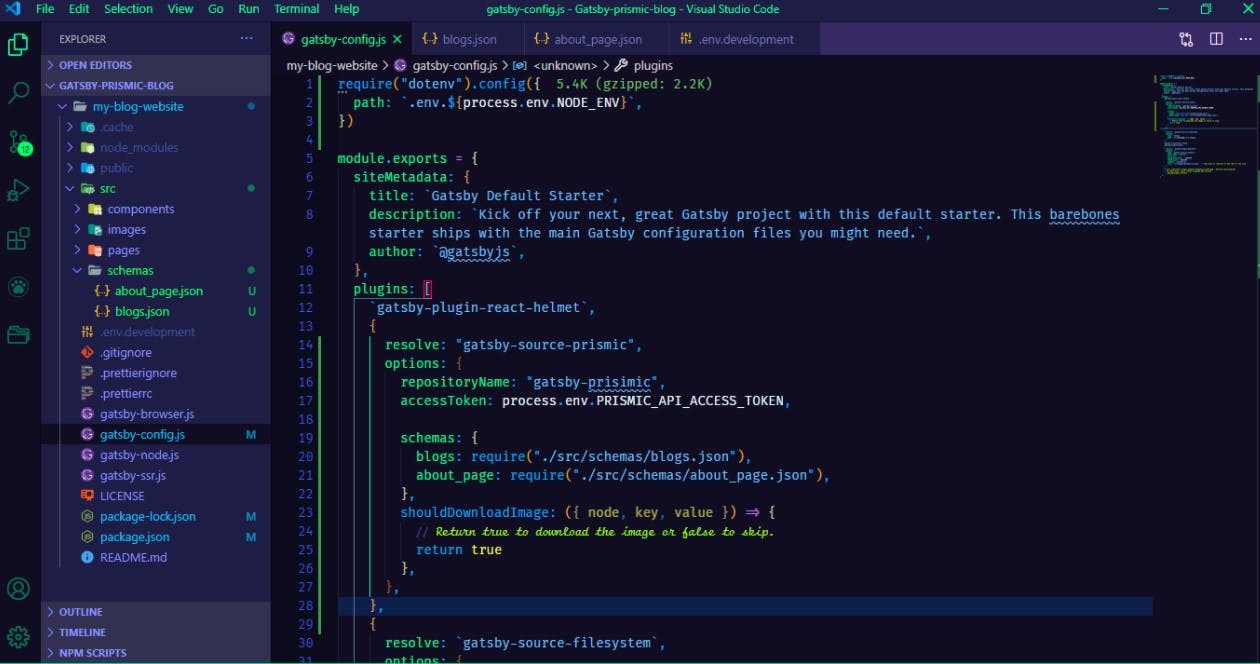
In gatsby-config.js we will give some option to our gatsby-source-prismic plugin. First, paste this below code on top of your gatsby-config.js file
require("dotenv").config({

  path: `.env.${process.env.NODE_ENV}`,

})
This is for the .env file we created earlier.
Now paste this in your plugins array
{

    resolve: "gatsby-source-prismic",

    options: {

        repositoryName: "gatsby-prisimic",

        accessToken: process.env.PRISMIC_API_ACCESS_TOKEN,


        schemas: {

            blogs: require("./src/schemas/blogs.json"),

            about_page: require("./src/schemas/about_page.json"),

        },

        shouldDownloadImage: ({

            node,

            key,

            value

        }) => {

            // Return true to download the image or false to skip.

            return true

        },

    },

},
You will have something like this
What we are doing here is setting our gatsby-source-prismic plugin. It requires some option to fetch data from your prismic API. I am giving just the basic options. You can read about more options here.
That's it we are done with the fetching part too. Open your terminal and run gatsby develop again.
Once developed open your browser and enter http://localhost:8000/___graphql. If you have worked with graphql before you can see our application is fetching data from Prismic API by writing a query in the graphql field or using explorer. You will see allPrismicBlogs and allPrismicAboutPage in your explorer.
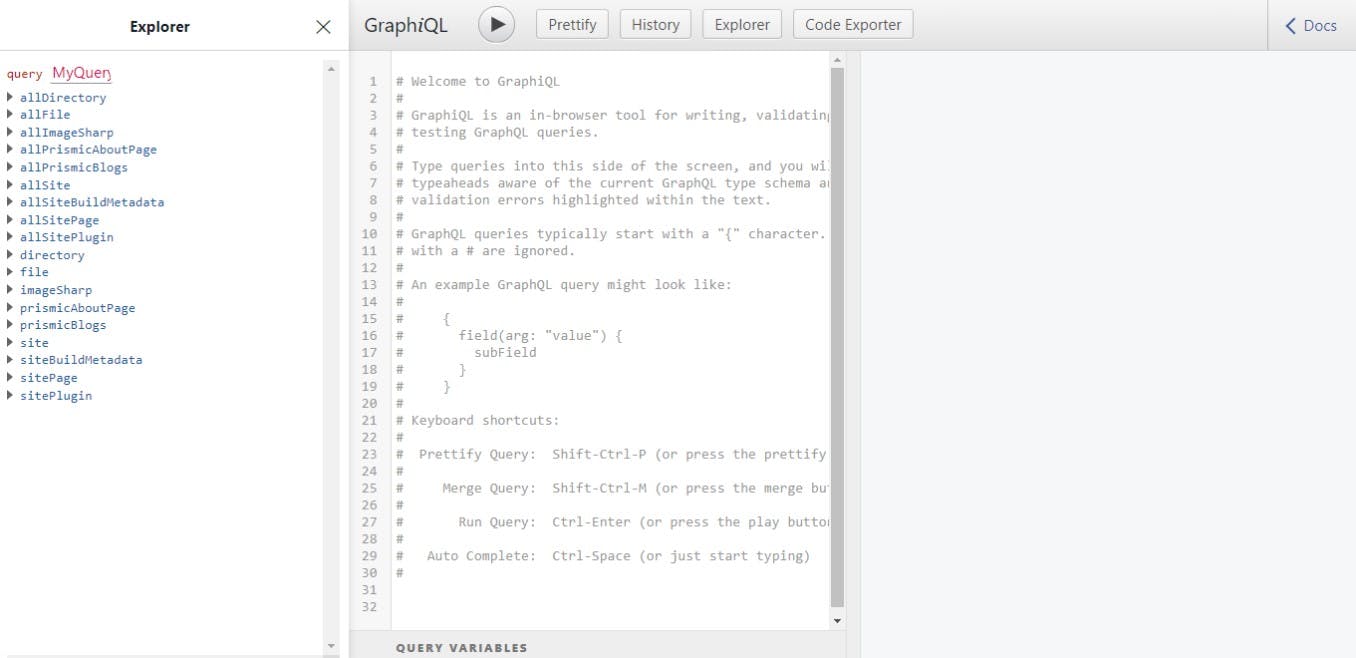
Getting allPrismicBlogs and allPrismicAboutPage means we have successfully connected our gatsby website to our prismic CMS. Congratulations. All we have to know is to query what we need from graphql and display on your website. If you have worked with gatsby before you can do that easily.
Displaying our blogs and about page on our website
Before we do anything we need to get rid of some of the files we don't need from our gatsby starter src folder. We don't need use-typescript.tsx from pages folder. We don't need image.js from components folder. Change site title to whatever you want to name your website. I will just use the Gatsby Prsimic Blog.
Now in the components folder, we will create style.css Blog.js. We need to import style.css to layout.js so that we can use some of our own styles. Since we are not going to do too much styling in this tutorial so we are going to use just plain CSS. For something serious, you should consider using other methods for styling your gatsby website like styled-components or using SCSS/SASS or modules.
Head to layout.js and add
import "./style.css"
We are adding our styles.css here because our layout.js will be used in every page so it makes sense to have our styles defined here rather than importing style.css in every component or page.
In Blogs.js file we are going to query all of our blog from prismic. We will use graphql and useStaticQuery hook to fetch our data.
Blog.js


import React from "react"

import { useStaticQuery, graphql } from "gatsby"

const Blog = () => {

  const data = useStaticQuery(graphql`

    {

      allPrismicBlogs(sort: { fields: id, order: DESC }) {

        nodes {

          date: first_publication_date(formatString: "YYYY-MM-DD")

          data {

            author {

              text

            }

            image {

              localFile {

                childImageSharp {

                  fluid {

                    ...GatsbyImageSharpFluid

                  }

                }

              }

            }

            title {

              text

            }

          }

        }

      }

    }

  `)

  return <div></div>

}


export default Blog
This query will give us the title, article, author, image for each of our blog in Prismic. Since we have our data all we have to do is display on our website using jsx. After adding our jsx our Blog.js will look like this
import React from "react"

import { useStaticQuery, graphql } from "gatsby"

import Image from "gatsby-image"

const Blog = () => {

  const data = useStaticQuery(graphql`

    {

      allPrismicBlogs(sort: { fields: id, order: DESC }) {

        nodes {

          date: first_publication_date(formatString: "YYYY-MM-DD")

          data {

            author {

              text

            }

            image {

              localFile {

                childImageSharp {

                  fluid {

                    ...GatsbyImageSharpFluid

                  }

                }

              }

            }

            title {

              text

            }

          }

        }

      }

    }

  `)


  return (

    <div className="blogList">

      {data.allPrismicBlogs.nodes.map((blog, index) => {

        return (

          <article className="blogCard">

            <h2 className="blogTitle">{blog.data.title.text}</h2>

            <p className="blogAuthor">{blog.data.author.text}</p>

            <span className="blogDate">{blog.date}</span>

            <Image fluid={blog.data.image.localFile.childImageSharp.fluid} />

          </article>

        )

      })}

    </div>

  )

}


export default Blog
Now if you import Blog.js from in your pages/index.js and Viola! you have all your blogs displayed on your website. Our index.js looks like this
import React from "react"

import { Link } from "gatsby"


import Layout from "../components/layout"

import Blog from "../components/Blog"

import SEO from "../components/seo"


const IndexPage = () => (

  <Layout>

    <SEO title="Home" />

    <Blog></Blog>

  </Layout>

)


export default IndexPage
and with a little bit of CSS in style.css
* {

  margin: 0;

  padding: 0;

  box-sizing: border-box;

}

body {

  font-family: "Segoe UI", Tahoma, Geneva, Verdana, sans-serif;

}


.blogList {

  display: grid;

  grid-template-columns: repeat(3, 1fr);

  grid-template-rows: 1fr;

  gap: 1rem;

}

.blogFooter {

  display: flex;

  justify-content: space-between;

  align-items: center;

  font-size: 0.8rem;

}
Your website will look like this

Awesome. Not the greatest looking but you can make something great out of it.
That's it for this part. In the next part, we will create our single blog page for each of our blogs and an about page.
Thank You for reading. I hope this has helped you. Will see you in the next part.