Starting a blog website with Gatsby and Prismic. Part: One


Starting a blog might seem daunting at first but it's not actually that hard if you have a little bit of knowledge of web development. If you have no idea of web development you might consider hiring someone who can set up a blog for you. In this tutorial, we are assuming you already have little bit knowledge of web development and a bit of React. This is a three-part series. In this first part, we are going to setup prismic CMS from start and build custom types for our frontend (Gatsby for our case).
Prerequisites
- A Prismic account to set up a headless CMS.
- Gatsby CLI installed
- Previous experience with gatsby-React.
What is Prismic and why prismic?
Prismic is a headless CMS. It helps writers, bloggers to write, save their articles with an easy to use interface. You just need your content set up and start writing. You can read more about prismic here. Now we know what prismic is the question is why I choose prismic as there are other headless CMS out there. My reasons are:
- Easy to get started with.
- Free Tier has a lot to offer if you are just getting started and if you need more users the pricing is also very reasonable. More about pricing here.
- Custom Types, Localization, Scheduling, Slices, Previews and many other inbuilt functionalities.
- Image transformation on the fly.
- It's great, just give it a try.
Note: We do not have anything to do with prismic. We just love how much it provides in its free tier and we think others should give it a try too.
Setting up Prismic for our content
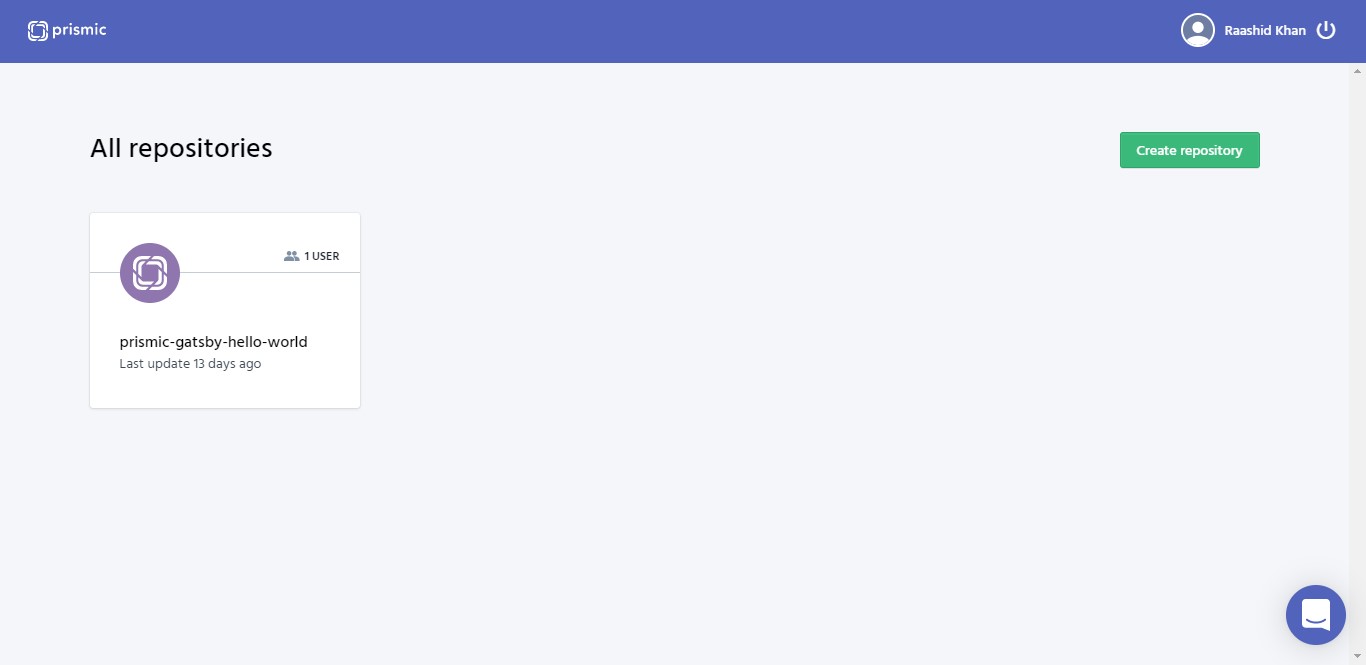
Assuming you already have a prismic account (if not Sign Up here) and you are logged in you will see a dashboard where all your repositories will show up. If you don't see any repository don't worry we will set up a new one.
Creating your Repository
Click on create a repository.
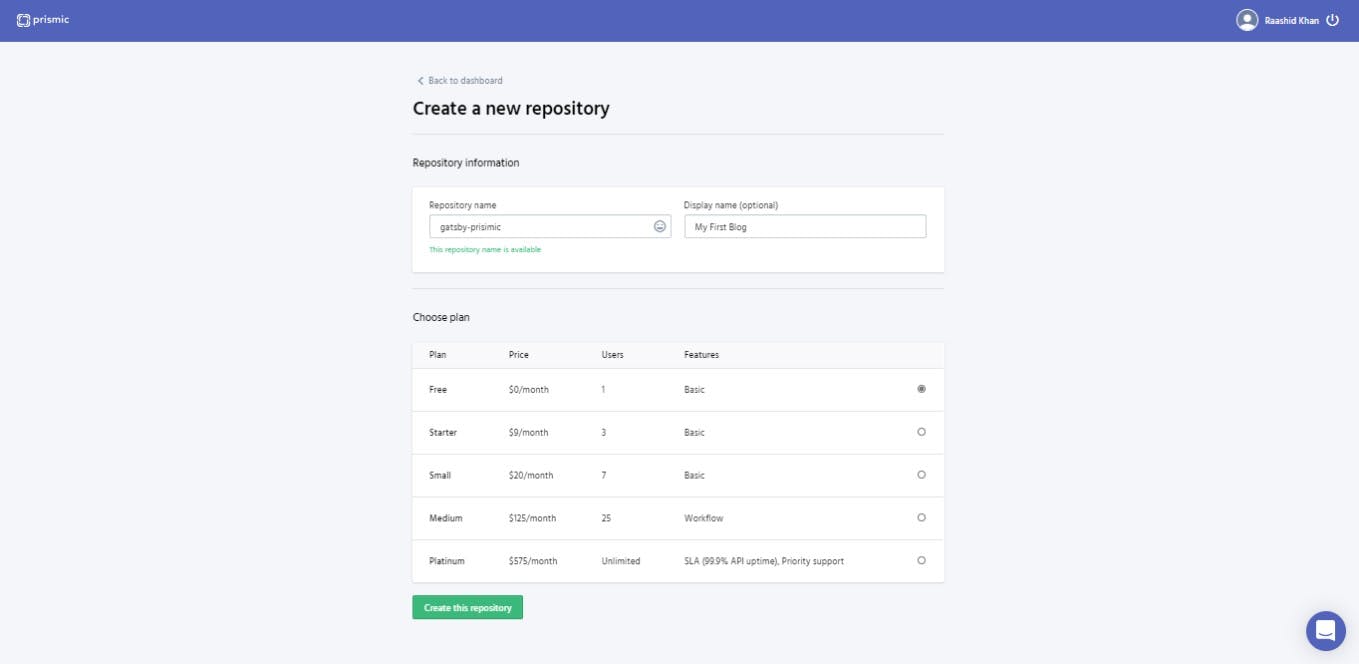
Type in your repository name and display name (you can leave this if you want).
Select the free plan and hit Create this repository button and that's it you have successfully created a new repo to work with.
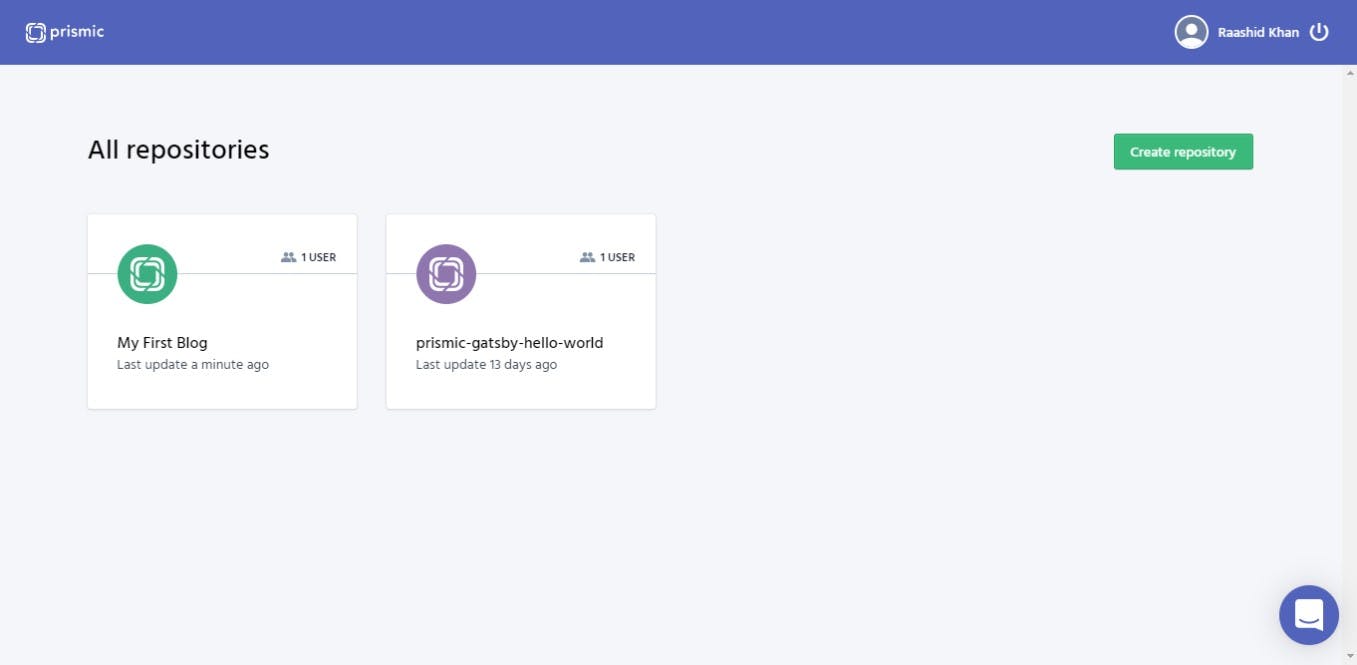
Now click on your newly created repo and select your default language.
You will get a create custom type screen. This is where we are going to create our field for our blog.
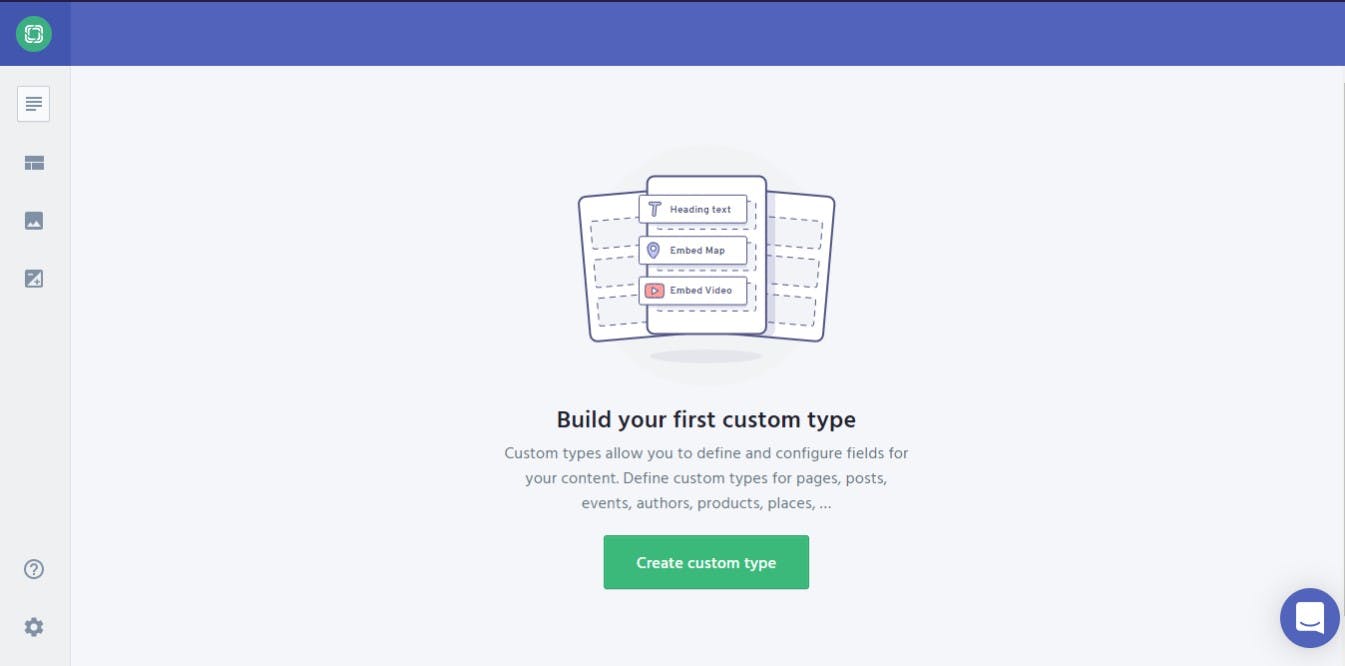
Click on create custom type and you will get two options.
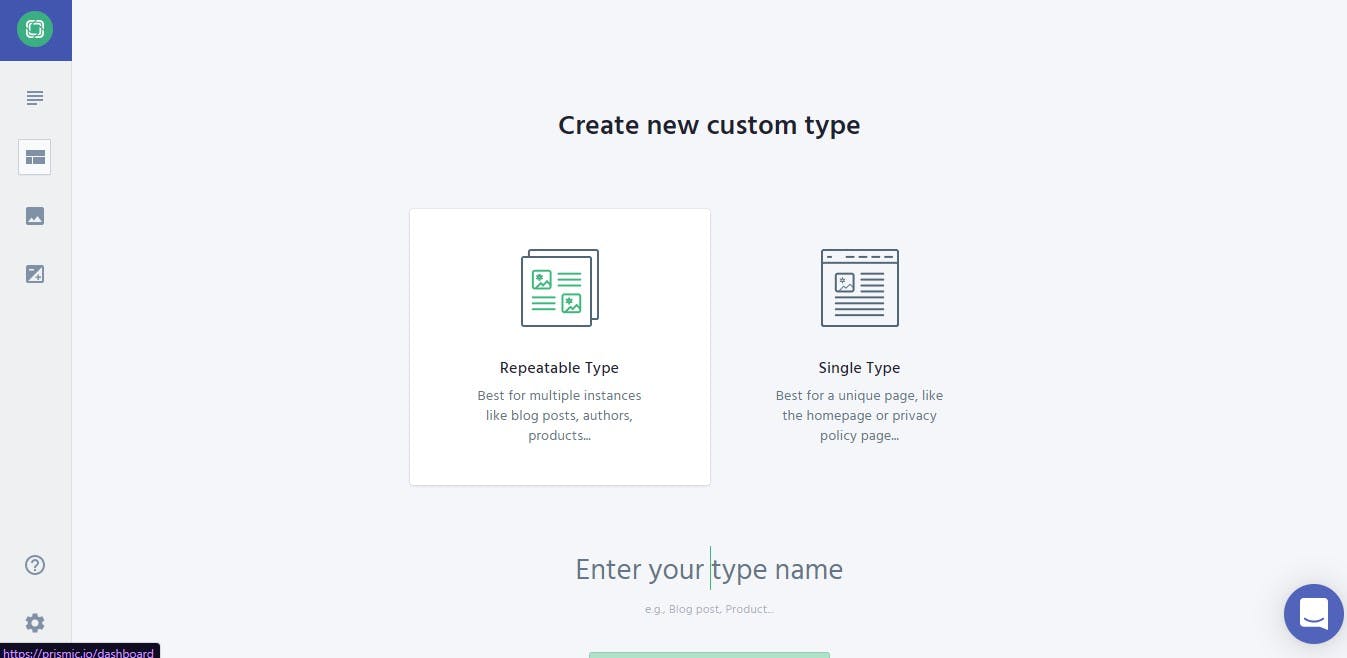
Repeatable types are exactly what is sounds things that will repeat in your website like our blog. Single Types are for single pages like About Page or a contact page. In this tutorial, we are going to make one Repeatable type and one single type. Let's start with Repeatable Type.
Creating Repeatable Type
Enter your type name in the field. I am just going to type blogs and hit create new custom type.
Now you just have to drag and drop the field you need for a blog. For sake of simplicity, I am just going to add these fields for this blog
- Title - your blog title
- Article - your blog body
- Author- author of the article
- Image- image for the blog
- Slug - to generate pages dynamically with gatsby
For Title, we will drag Title, give it a field name and hit Ok. For article and author drag Rich text field and give it a field name respectively. For image drag Image field with a field name and at last a slug, we will use UID field. After all this, you will get something like this
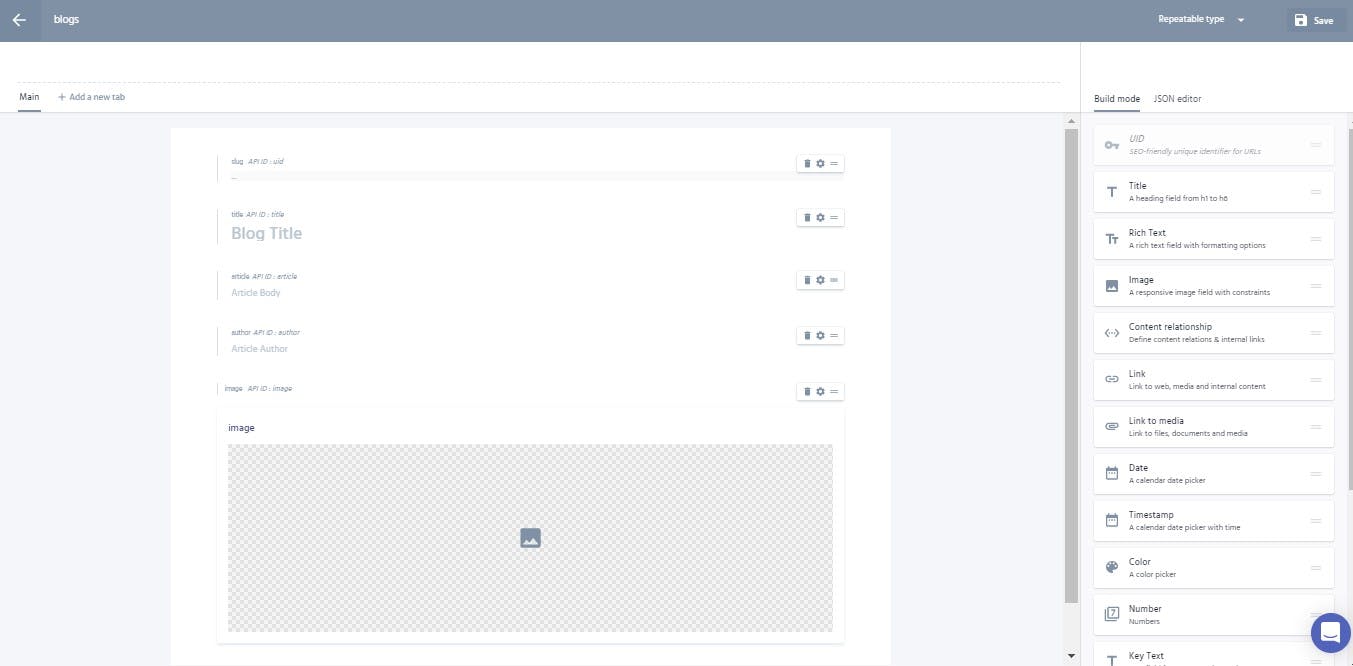
Hit save on top right corner and now you have a repeatable type ready to use.
Creating Single Type
For our about page we will use a single type. The reason we are using a single type is that we will have only one about the page on our blog website so it makes sense to have a single type. For our about page we are going to use the following fields
- header image
- header title
- about us artic
That's it a simple about us page. You can do more fancy fields if you want.
From your sidebar go to custom type section and hit create new and this time select Single type.
Give it a name About Page. Notice the API id below the field it will create about_page. We will need this when querying out data from gatsby. Hit Create New Custom type.
Do the same steps as you did with repeatable types for adding the field you need on your about page. Save it and it will look like something like this if you have added the same field as me.
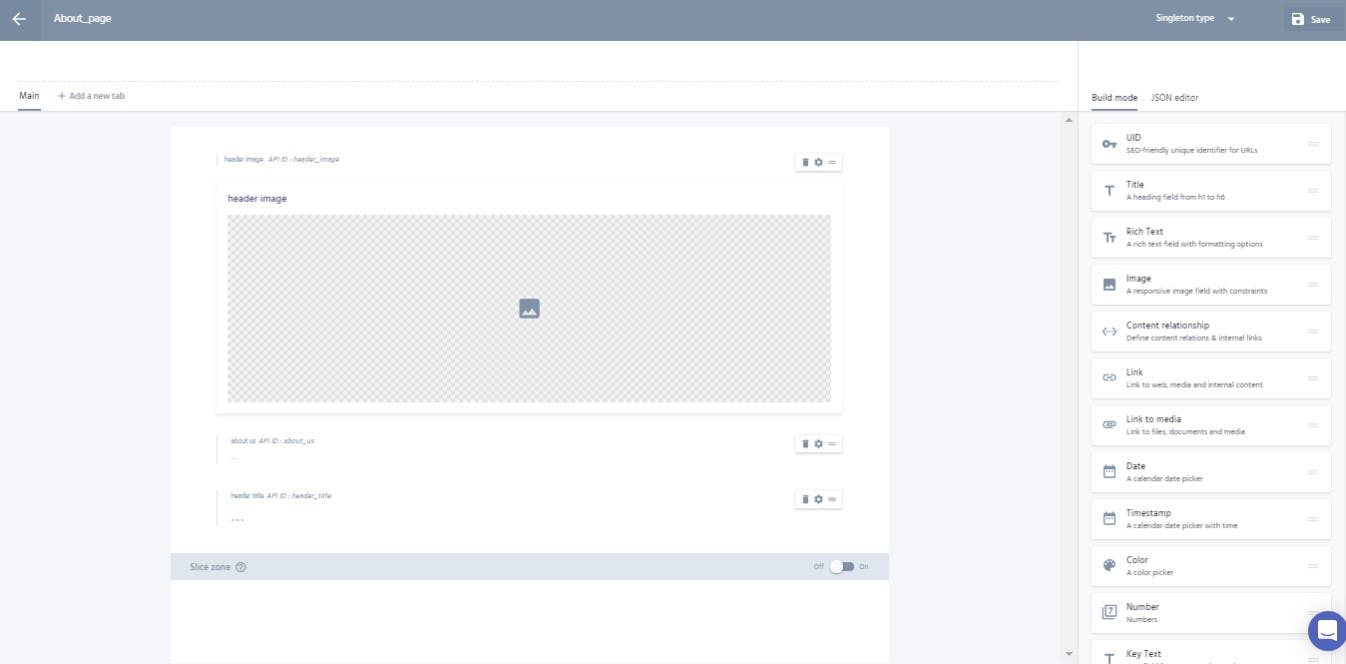
Hit save and that's it we are done creating custom types. Now its time to fill up these types.
Filling our articles and about page data
Click on document button from the left sidebar and then click on create new on the right corner. This will give a popup like this
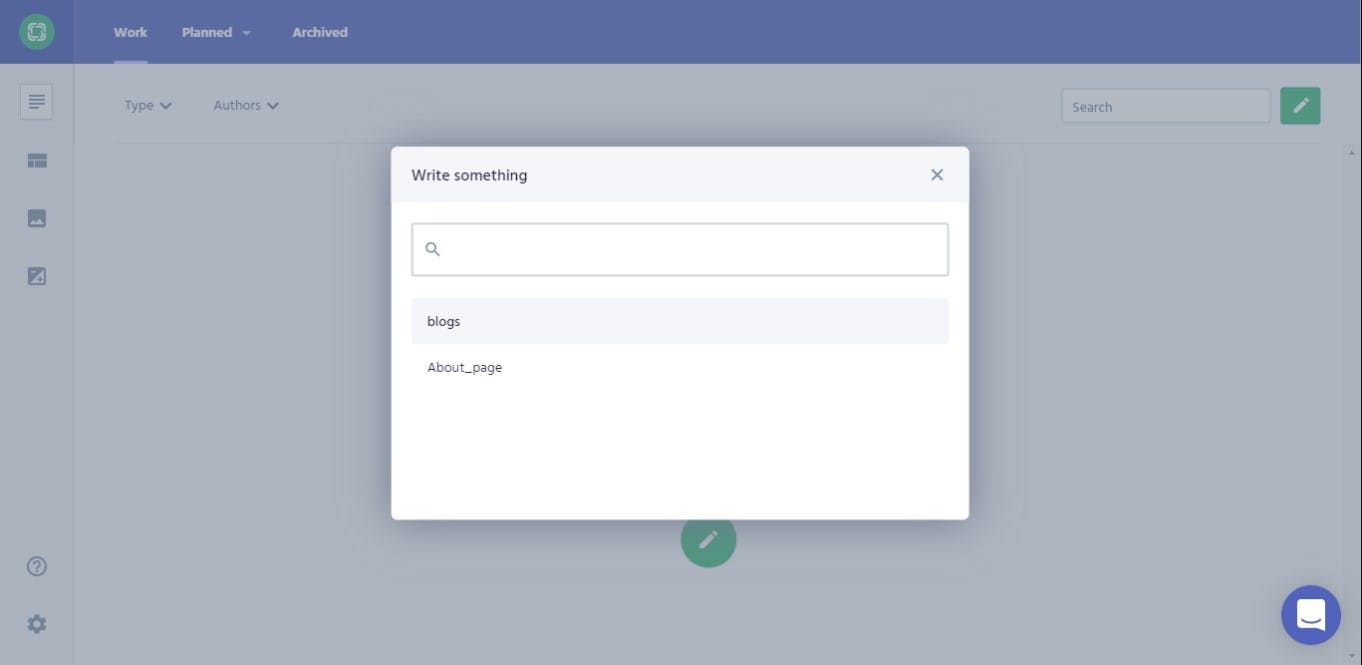
Select blogs and start typing your content.
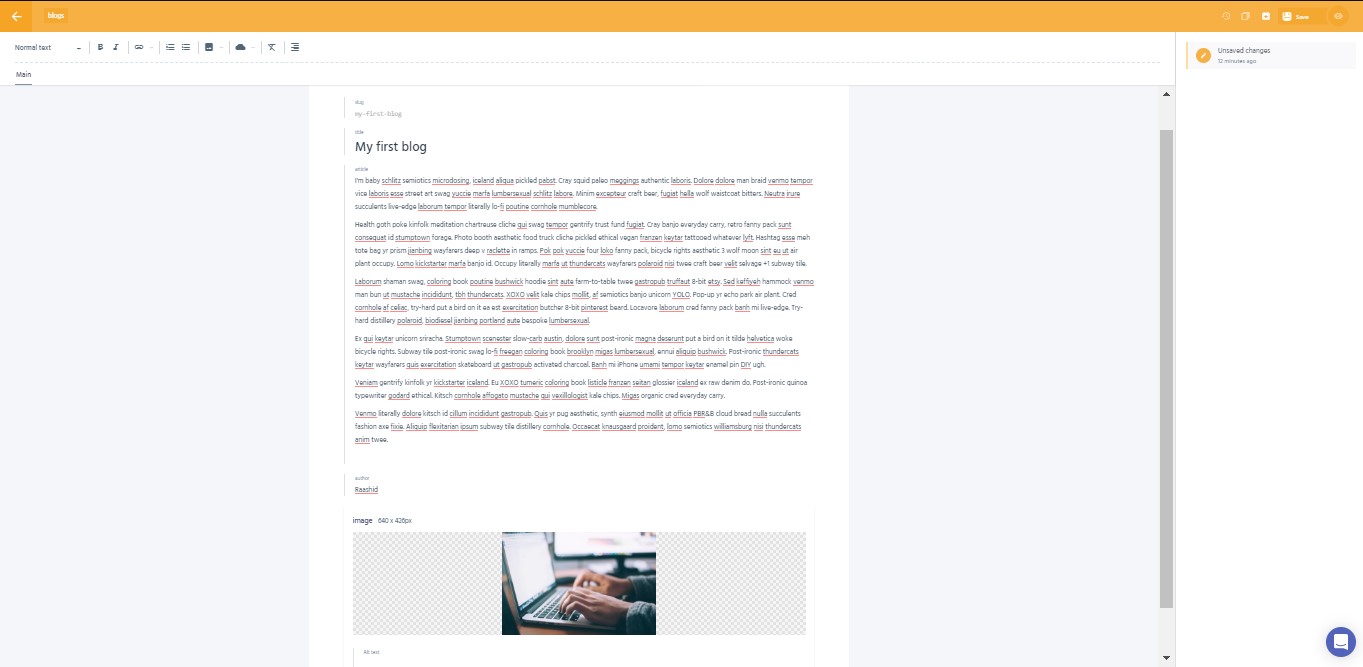
For the title, I will just use My first Blog and notice how the slug field will automatically create a link for you. That's neat. For the article body, I will use hipster Ipsum to generate some dummy text. If you don't know what hipster Ipsum is read here. This generated some dummy text for you to use while you work on the main content. Moving on to the image. Click on the image you will see some default images if you want you can use those otherwise hit upload media to upload your image. Once uploaded click on the image and boom you have an image in your articles. If you followed me you will see something like this
Now Hit save and then hit publish. You have the option to save a draft so you don't have to write everything at once. When ready hit publish and you are ready to get this data from gatsby.
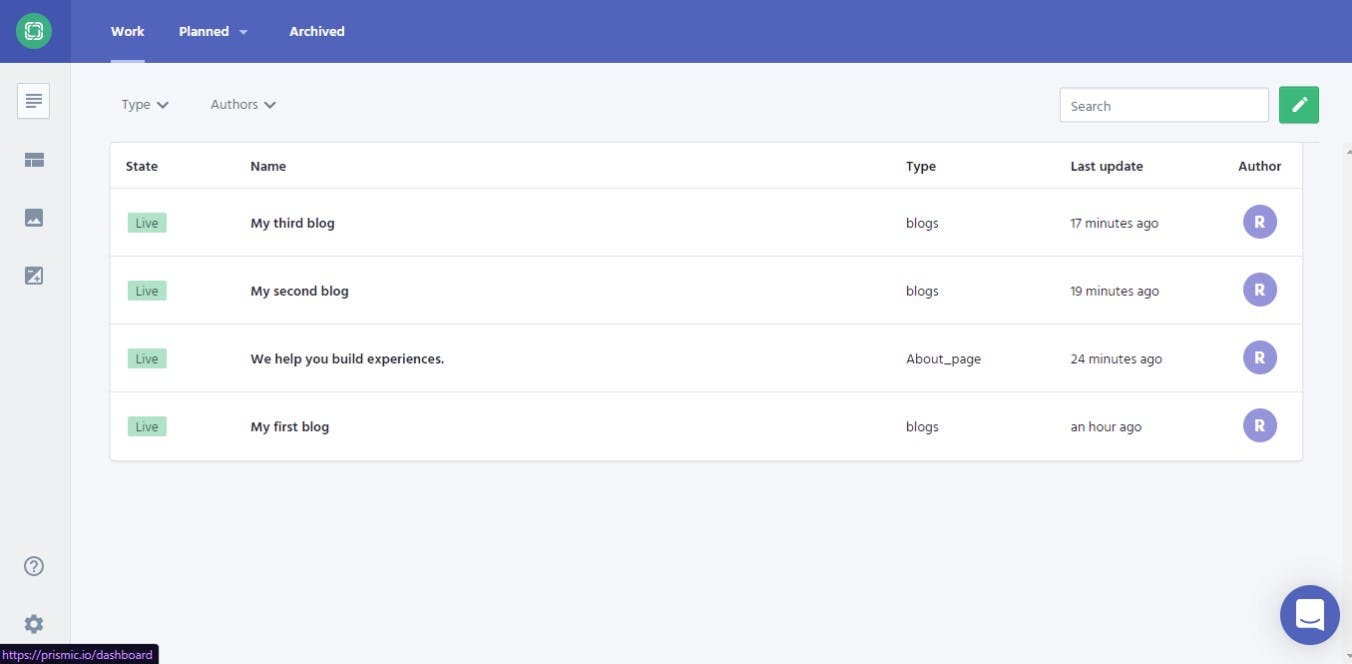
Create as many blogs you want I will just make 3 dummy blog and call it a day.
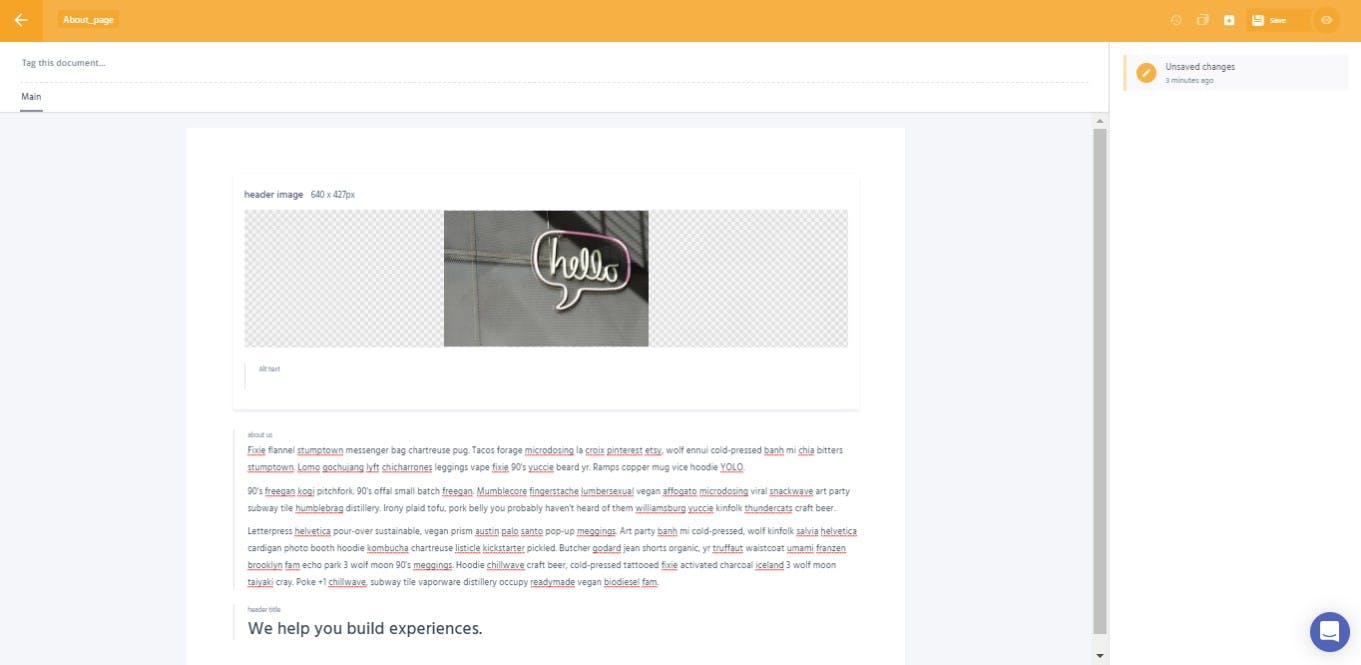
For our About page click on Create new in your document page and all the steps are similar to blog so you can just repeat what you did above. My about page looks like this
And that's it we have successfully created our content for blog website. Now we have to pull all these data in our frontend gatsby application. This is the final screen I have you might have something similar
That's it for this part. In the second part, we will create a gatsby website and hook up our CMS.
Thank you and will see you in the second part.